Welcome, Guest. Please login or register.

Login with username, password and session length


Author Topic: Quick re-plastidip photos.  (Read 10146 times)

Offline Gripper

  • Abarth Wannabe
  • *
  • Posts: 15
  • Carlo Rating: 0
    • Dumfries
Quick re-plastidip photos.
« on: June 19, 2015, 05:33:04 pm »
After having plasti dipped a few bits on my car 3 months ago and due to a weekends road trip (including getting stuck behind a gritter, spreading in June!  :o ) the front whisker was looking really a bit worse for wear, so thought I would put a quick guide up if anybody is fancying doing it.  :thumb:


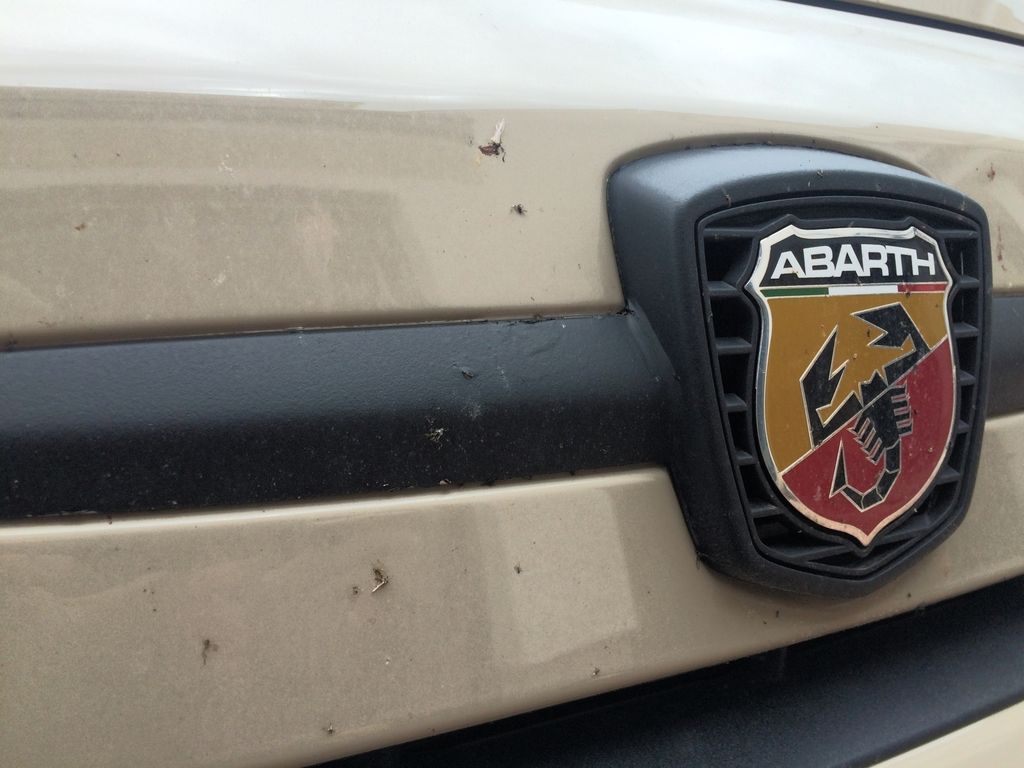
After a good wash and dry I stripped the old plastidip off, thoroughly cleaned up the whisker and masked off the surrounding area, leaving about a cm gap from the chrome  and including putting paper between the badge and radiator.


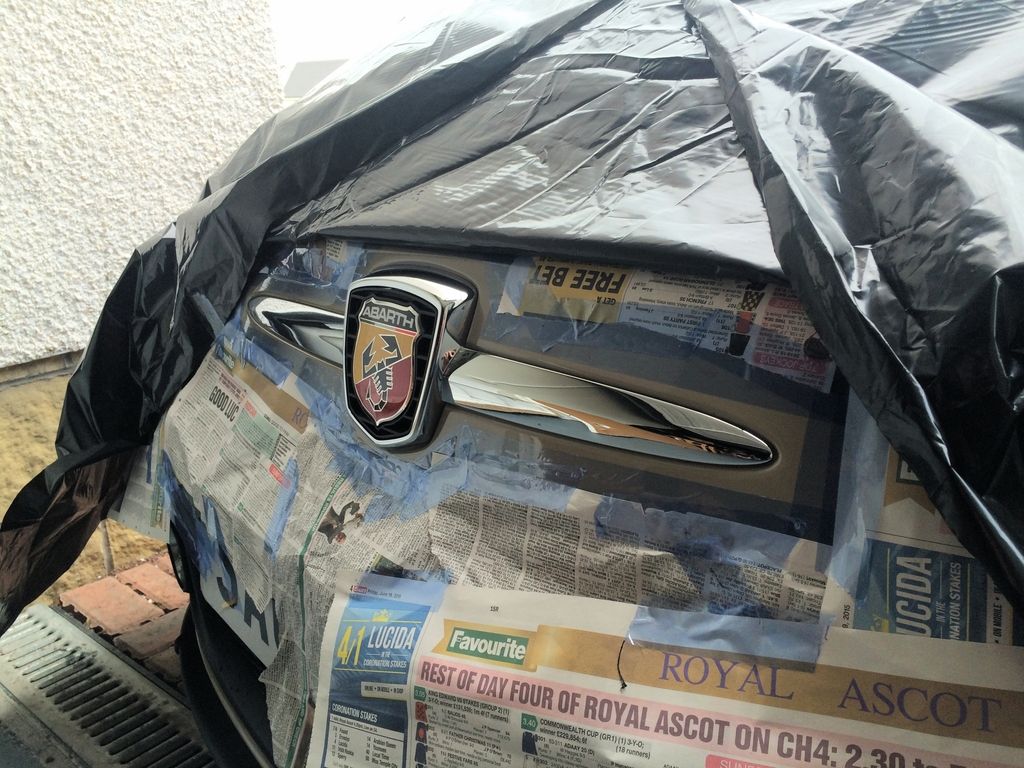
First coat, sprayed from about 10cm and just enough to lightly cover the whisker.


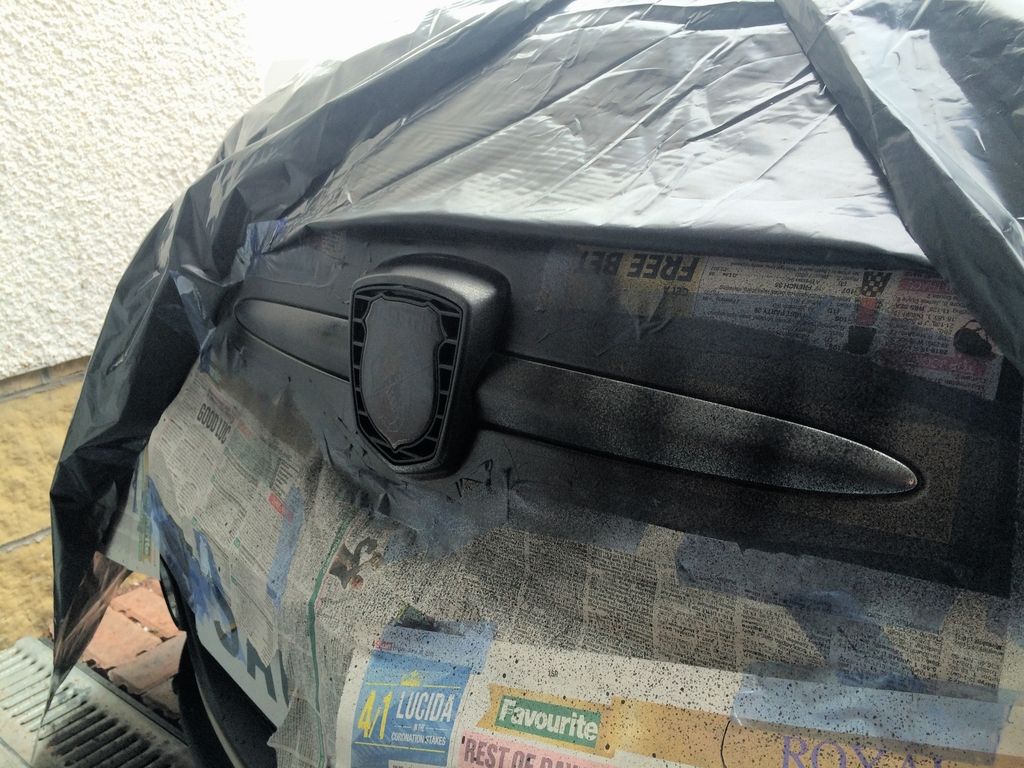
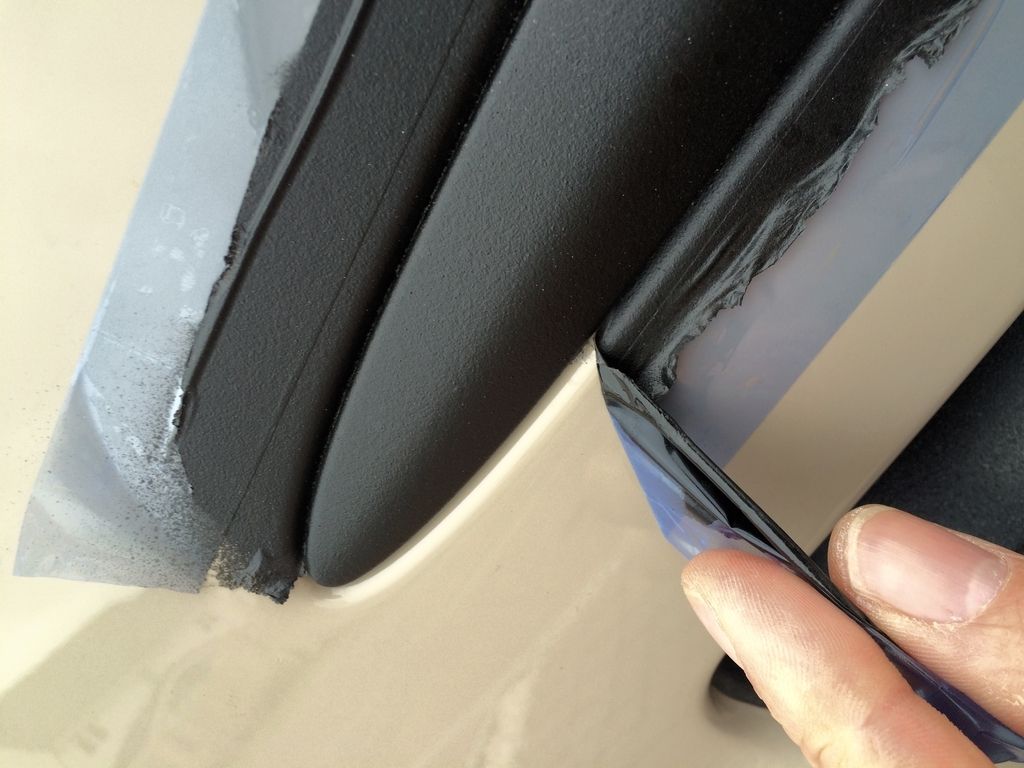
Three coats later (leaving 5-10 mins between coats) making sure to get all the angles covered, I removed all the surrounding paper etc leaving just the tape adjacent to the whisker.


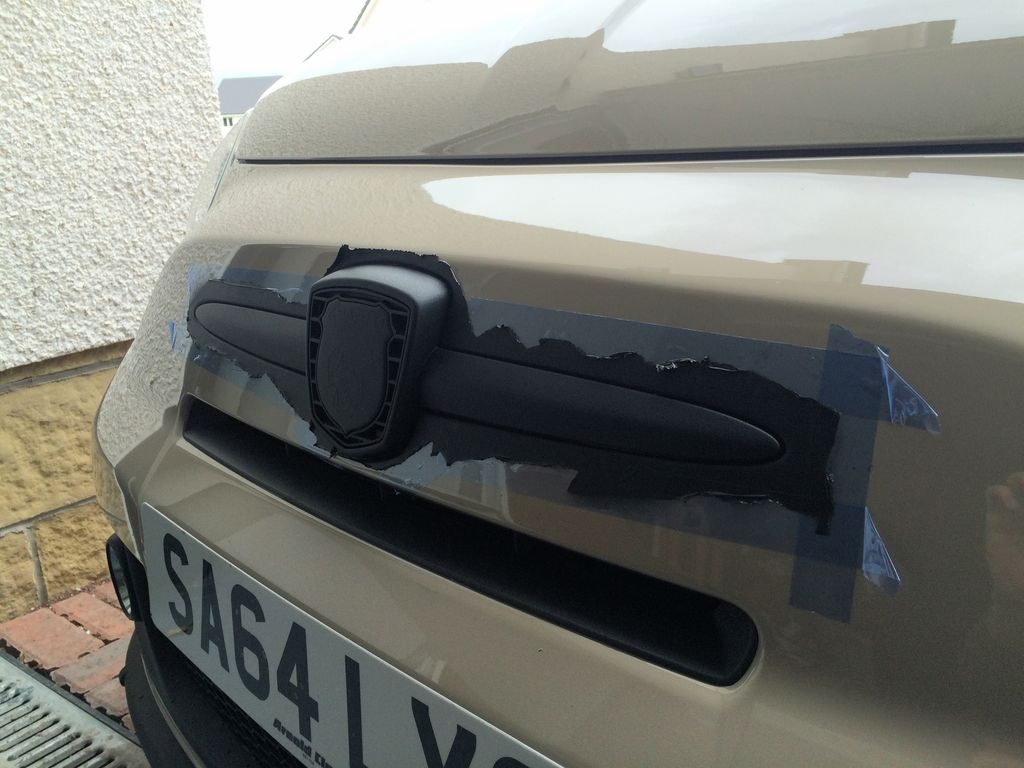
Gently pulled away plasti dip from the whisker (using a cocktail stick to separate when needed).


And viola! all done and dusted in an hour or so.  ;D


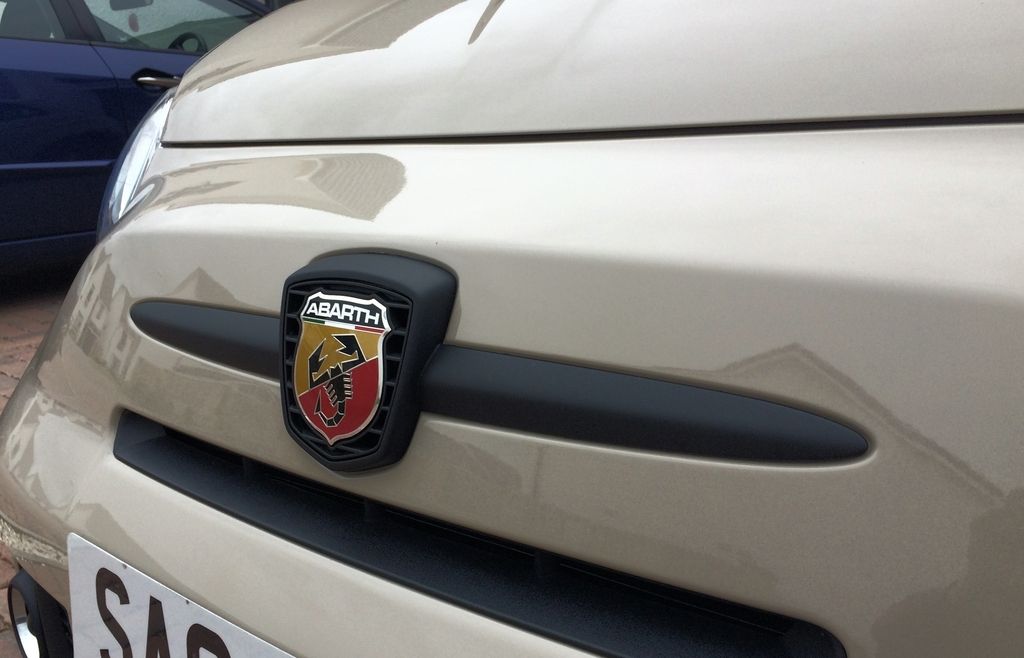
Really like this stuff, totally reversible and a cheap mod.

AbarthForum.co.uk

  • Advertisement
  • ***

    Offline Fish

    • Assetto Corse Member
    • ****
    • Posts: 339
    • Carlo Rating: 5
      • London
    Re: Quick re-plastidip photos.
    « Reply #1 on: June 19, 2015, 06:41:17 pm »
    Good job and directions.  :thumb:

    Fish

    Offline dixy

    • Assetto Corse Member
    • ****
    • Posts: 430
    • Carlo Rating: 2
      • Northern Ireland
    Re: Quick re-plastidip photos.
    « Reply #2 on: June 20, 2015, 10:17:19 am »
    Nice easy mod, looks well, can you tell me where you sourced the plasti dip from ?

    Offline Gripper

    • Abarth Wannabe
    • *
    • Posts: 15
    • Carlo Rating: 0
      • Dumfries
    Re: Quick re-plastidip photos.
    « Reply #3 on: June 20, 2015, 11:16:49 am »
    Nice easy mod, looks well, can you tell me where you sourced the plasti dip from ?

    Thanks, I've had a couple of cans in the past but one was enough for me to do mirrors, whisker and boot handle if you so wish, at £13 it's a cheap transformation.  :thumb:

    Link for can on Amazon.

    http://www.amazon.co.uk/Plastidip-Plastic-Rubber-Paint-400ml/dp/B0006SU3QW/ref=sr_1_1?ie=UTF8&qid=1434795011&sr=8-1&keywords=plasti+dip

    Offline dixy

    • Assetto Corse Member
    • ****
    • Posts: 430
    • Carlo Rating: 2
      • Northern Ireland
    Re: Quick re-plastidip photos.
    « Reply #4 on: June 20, 2015, 11:28:21 am »
    Gripper thanks am looking at doing the front and rear badges on my APE to keep my red and black theme ;-)

    Just ordered some thank you ;-)
    « Last Edit: June 20, 2015, 11:39:29 am by dixy »

    Offline J_a_m_e_s

    • S2000 Member
    • *****
    • Posts: 1926
    • Carlo Rating: 1
    Re: Quick re-plastidip photos.
    « Reply #5 on: June 20, 2015, 12:49:43 pm »
    Done this to mine a couple of years ago, it's a shame we pay 3 times what the Americans do for theirs and is better than the watered down stuff we get  :thumbd:
    South Wales Member

    Offline dixy

    • Assetto Corse Member
    • ****
    • Posts: 430
    • Carlo Rating: 2
      • Northern Ireland
    Re: Quick re-plastidip photos.
    « Reply #6 on: June 20, 2015, 01:28:31 pm »
    Yes indeed rip off Britain!!!! ya can't beat them at gathering in the pennies to waste.

    Offline gzlito

    • Abarth Wannabe
    • *
    • Posts: 48
    • Carlo Rating: 0
      • Argentina
    Re: Quick re-plastidip photos.
    « Reply #7 on: June 27, 2015, 03:54:50 am »
    Should this work as a basic road dust and chip protection from small rocks when applied to the bumper? Im talking about the clear color one... thanks


    hungry